
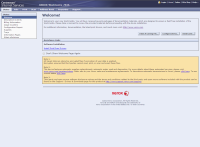
Further Configuration of ConnectKey devices
Typically, devices will register successfully without following these instructions. These instructions for further configuration are provided to assist in the event that device registration is not successful.
Configure the panel interface
Configure the panel interface
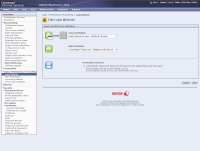
- Navigate to Properties from the top menu, then expand General Setup on the menu to the left and select Entry Screen Defaults. You may be prompted to enter admin credential.

-
On the section labeled Services, Select Print Audit Embedded for Xerox from the drop down list.
-
In the Touch UI Method dropdown select Xerox Secure Access - Unified ID System.
-
In the Web UI Method dropdown select User Name / Password - Validate on the Device.
-
Save and return to the previous screen.
-
Click the Edit button in the Xerox Secure Access Setup configuration settings section.
-
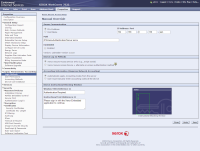
Click the Manually Override Settings button.
-
When presented with the Manual Override page, enter the following information:
- In the Server Communication section select IPv4 Address radio button.
- Enter the IP Address: Port. The IP will be the location of the Xerox Embedded hosted installation. Enter 443 for the port number as the authentication server uses SSL
- Enter /PAXeroxAuthentication/Server.asmx as the Path.
- Uncheck the Embedded check box, as this might disable some proxy cards.
- From the Device Log In Methods section select Xerox Secure Access Device Only (e.g.,Swipe Cards).
- Under the "Accounting Information (Requires Network Accounting)" section select Automatically apply Accounting Codes from the server
-
Click Save to continue. Navigate to Login / Permissions / Accounting and then Accounting Methods. Click Edit next to Touch and Web User Interface.


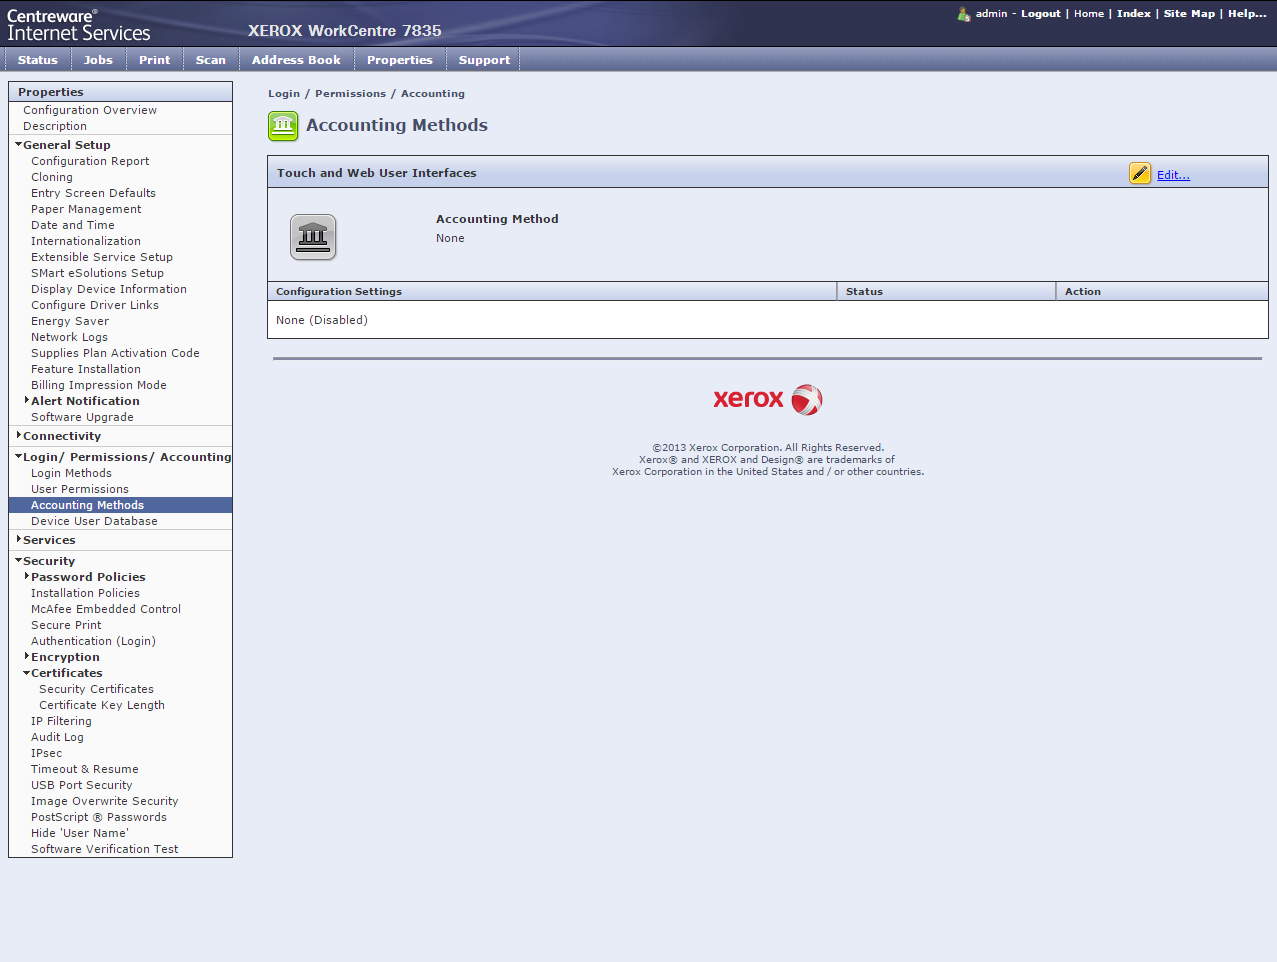
-
Set the Accounting Method to Network Accounting. Click on Save to return to previous screen. (Select Accounting Methods)

-
Click Edit next to the Accounting Workflow. All Job Types must be set to Capture Usage. Click Save.


-
Click Edit next to the User Accounting Prompts. Select No Prompting from the Presets dropdown. Click Save

-
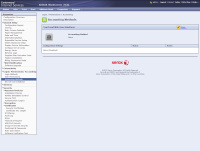
Navigate to Properties from the top menu and select Security then Certificates and Security Certificates section on the left hand side menu.
-
Ensure that there is a certificate installed on the Xerox device. If there is no certificate listed,please create a new Xerox device certificate
