Manual Installation Instructions: Embedded for Ricoh SOP Pre-Installation Device Configuration
Device Pre-Installation Configuration
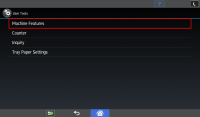
- On the MFP, select User Tools from the home page.
- Select Machine Features.
- Select Login.
- Select Login and enter Administrator account credentials.
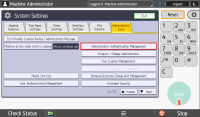
- Select System Settings.
- Select the Administrator Tools tab.
Enabling User Authentication
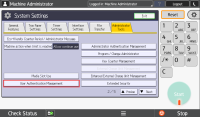
- Under the Administrator Tools page 2, select Administrator Authentication Management.
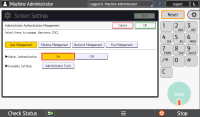
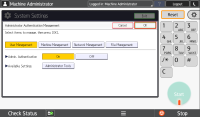
- Under User Management set Admin Authentication to On.
- Select OK.
Configuring User Authentication
-
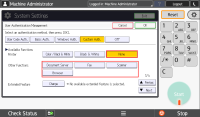
Under the Administrator Tools page 2, select User Authentication Management.
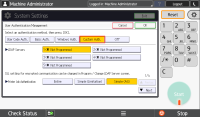
- Click Custom Auth.
-
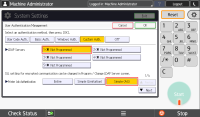
Under Custom Auth. Page 1
-
Set LDAP Servers to the first option.
-
Set Printer Job Authentication to Simple (All).
-
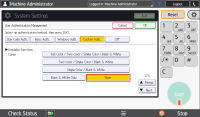
- Under Custom Auth. Page 2
Set Available Function Copier to None.
-
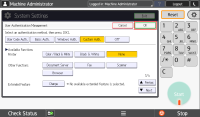
Under Custom Auth. Page 3
-
Set Available Function Printer to None
-
Set all options in Other Functions to unselected
-
- Click OK.
-
Exit to the home screen.
Configuring SP Mode
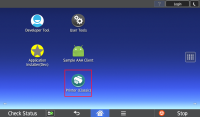
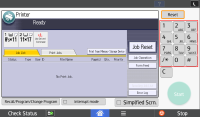
- Open a Classic application.
-
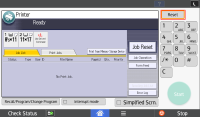
Select Reset.
- Using the keypad, enter 806182.
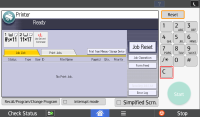
- Select and hold Clear.
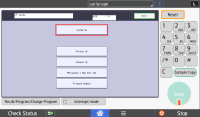
- Select System SP.
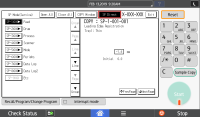
- Ensure SP Direct is highlighted.
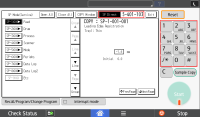
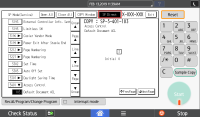
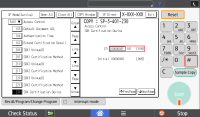
- Using the keypad, enter 5401103.
-
Press # on the keypad to open the SP mode.
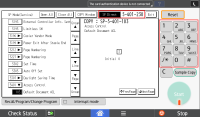
- Press 3 on the keypad.
-
Press # on the keypad to save the value.
-
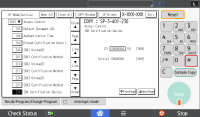
Press SP Direct.
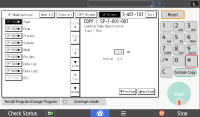
- Enter 5401230 using the keypad.
-
Press # on the keypad to open the SP mode.
-
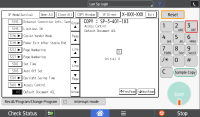
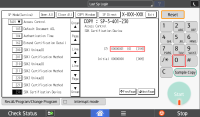
Press 0 to change the value to “00000001”.
-
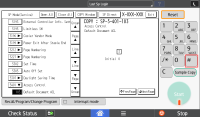
Press # on the keypad to save the value.
-
Exit to the home screen.
-
Restart the Device.


