Using the Chromebook extension
It is very easy to install the Printanista Workflow Chromebook extension to begin printing to the Printanista Workflow Remote Print Service
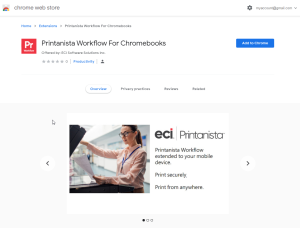
1. Install the Printanista Workflow extension from the Chrome Web Store
-
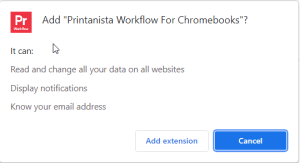
When the confirmation screen appears, select Add extension.
-
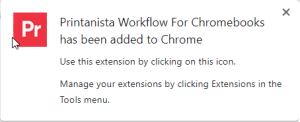
A message will confirm that the extension has been added.
-
You will be able to find the Printanista Workflow extension in your Chrome extensions. Pin the extension to your app shelf for easy access.
-
You will be able to find the Printanista Workflow extension in your Chrome extensions. Pin the extension to your app shelf for easy access.
- Select the extension to open the status window, which will display your account email ID and the Printanista Workflow organization to which that email ID belongs.If the ID or organization are not correct, ensure you are logged into your Chromebook with the same email ID which is associated with your organization’s Printanista Workflow account. If you are not logged on with a Printanista Workflow email, you will not be permitted to connect to your organization, or print to those printers. You can add your Chromebook email ID to your Workflow user account using My Workflow.
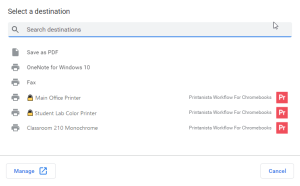
- Once you are connected to your organization, whenever you print, you will be able to choose one of your organizations printers from the Print dialogue box, any time you use the Print command.
Printanista Workflow remote printers are denoted with the Printanista Workflow icon. Printers that are enabled for secure print release are additionally denoted with a lock icon.
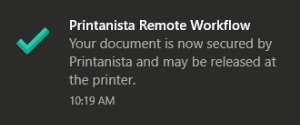
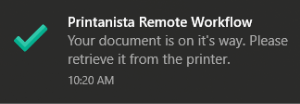
- If you have popup messages enabled, you will receive confirmation of your print job submission to the Printanista Workflow printer. The message will vary depending on whether or not you have selected a secure release printer.

